
Requirements and Quick Start
Requirements and installation
Section titled “Requirements and installation”Use PRISM Surface in a Unity 6 project using the High Definition Render Pipeline (HDRP). The validated release baseline is Unity 6000.3.10f1 with HDRP/Core RP 17.3.0. Import the package into an HDRP project, then allow Unity to finish importing shaders and assets before judging results.
The package’s validated project also includes uGUI 2.0.0 for TextMesh Pro labels in the demo scene. ProBuilder is not required for the shipped workflows or baked demo meshes.
The scatter receiver needs a MeshFilter with a valid shared mesh. PRISM does not alter that source mesh; it samples it to create generated child output. Ensure imported meshes are readable and valid when Unity or the source asset requires that for mesh access.
Texture import expectations
Section titled “Texture import expectations”PRISM needs Read/Write enabled only when it must inspect texture pixels in the editor:
- Custom placement masks.
- Material Base Map textures used for placement filtering.
- Source images in Material From Image.
- Textures used with alpha-bounds alignment for drip streaks.
If the Inspector displays an Enable Read/Write action, using it changes the texture import settings and triggers a Unity reimport. It is not required for an ordinary scatter source texture unless a workflow above needs pixel sampling.
For sampled PRISM material textures, use normal HDRP-appropriate import settings and inspect the material at its intended view distance. Texture filtering and mip selection affect the whole material stack, including Base, Mask, Normal, and Detail maps.
Open the tools
Section titled “Open the tools”- Add PRISM Surface Tool to a GameObject with a MeshFilter for scene-object scatter.
- Open
Tools > PRISM Surface > Material Toolfor Surface and Decal material authoring. - Open
Tools > PRISM Surface > Material From Imageto create PRISM materials from readable images.
Warning: PRISM Surface is HDRP-focused. Do not expect its PRISM Surface shaders, HDRP Decal output, or material authoring workflow to work in URP.
Quick start
Section titled “Quick start”This sequence makes a simple first result before you add masks or advanced filtering.
- Select a scene object with a MeshFilter and add PRISM Surface Tool.
- In
Sources, clickAdd Entry, assign a texture, and keep it enabled with a positiveChance Weight. - Choose
Default Output: start with Mesh Quads for cutout card detail or HDRP Decals for a projected HDRP decal. - In
Placement, set a modestDensity,Scale Range,Rotation,Minimum Spacing, andSurface Lift. - In
Output, assign the appropriate material template. For Mesh Quads, start withMaterials/Mesh Quad/PRISM_MeshQuad_Cutout_Template.mat. - Click
Preview Placement. Read its accepted/rejected result stamps before generating. - Click
Generateand inspect the Scene view. ClickClearbefore another clean generation pass.
Start without masks, Object Detection, or per-entry overrides. Add those only after the basic density, scale, and output look correct.
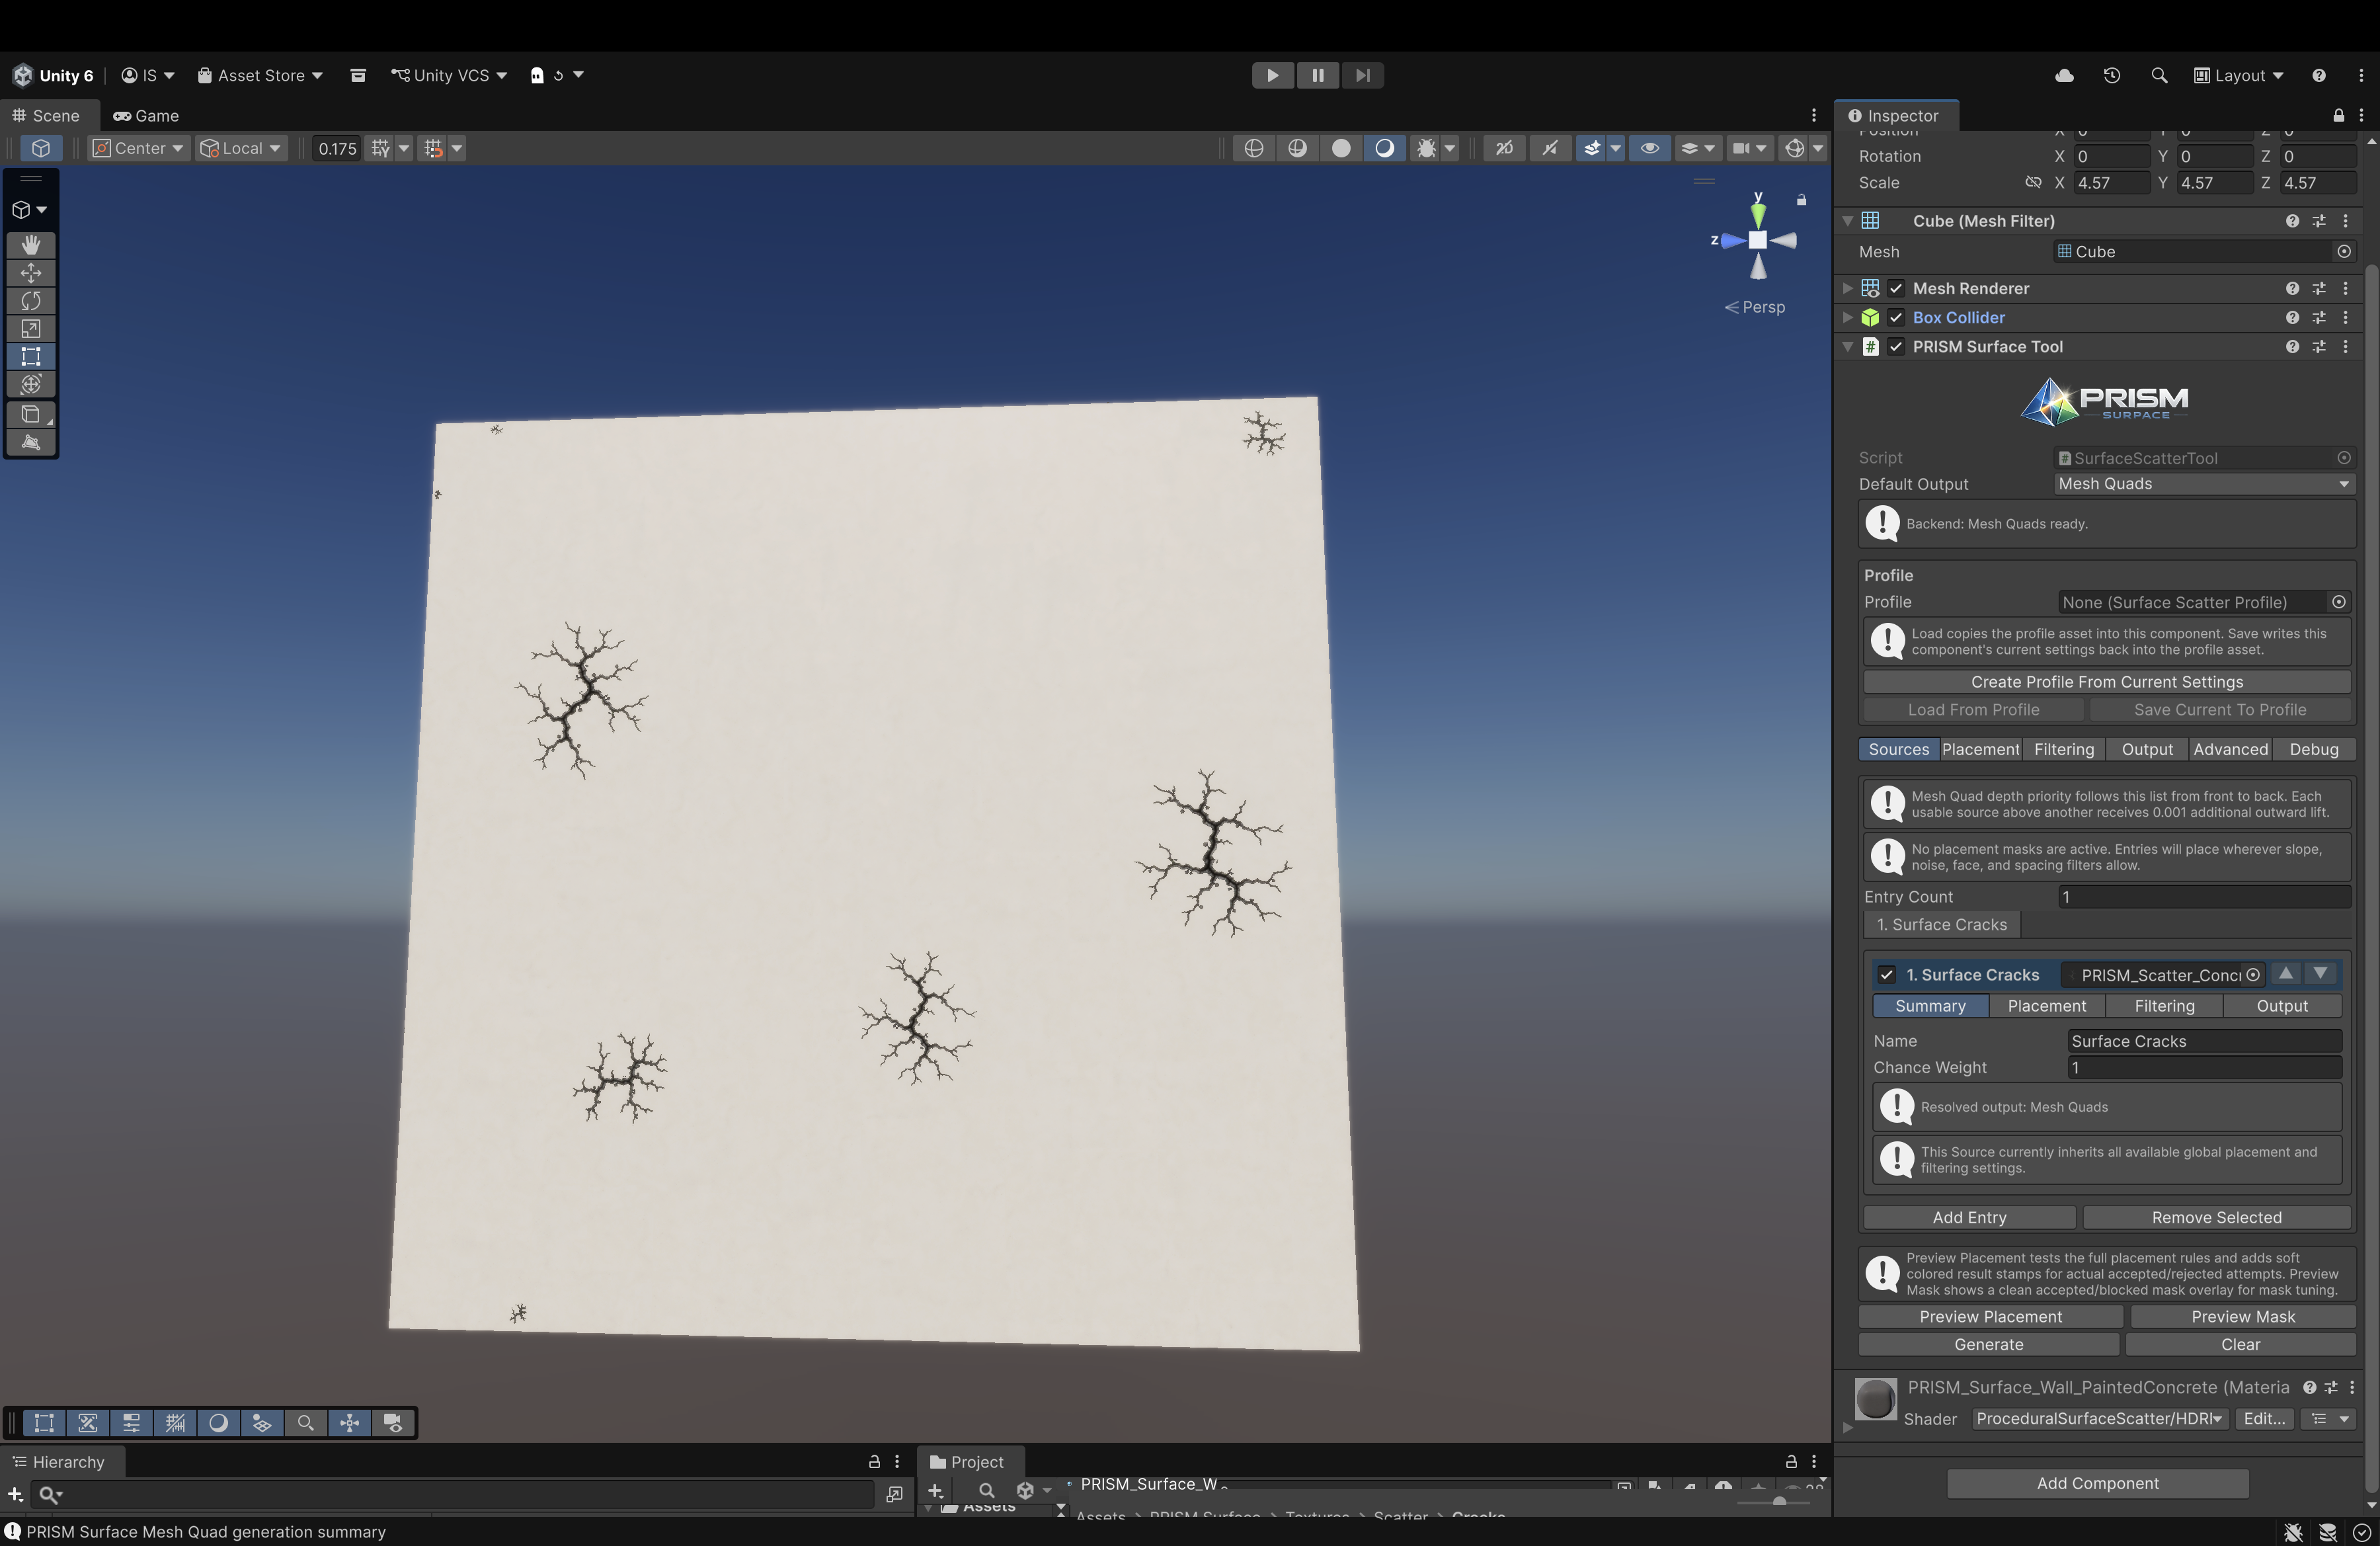
A first scatter result: one enabled source, Mesh Quads, and visible generated detail.
If nothing appears
Section titled “If nothing appears”Confirm that the receiver has a valid MeshFilter, the source entry has a texture and positive Chance Weight, a suitable material template is assigned, and Density/Placement Attempts are not too low. Then temporarily disable masks, restrictive slope limits, Object Detection, and wide Minimum Spacing, and run Preview Placement again.
Next: PRISM Surface Tool.